11th November - Funnel Fumbling
While work was progressing on the plumbing a little thought had been given to the funnel. That is made up of the funnel base stub which is firmly fixed to the top panel of the boiler. The rest of the funnel is designed to slip over that stub 'easily' to facilitate removal but not 'sloppily' since there are no stays keeping the funnel upright. This part of the funnel is in two parts. There is the longer outer funnel and the shorter inner funnel. The two are designed to be joined together with spacers, but the inner funnel cannot have bolt heads projecting inside it as they would catch on the funnel stub. So, what was needed was a way to fit one inside the other with minimal difficulty and no screws or bolts protruding into the inner tube of the inner funnel.
Part of the problem was that the theoretical space between the inner funnel and the outer funnel on the drawings was around 24mm or 12mm all round. In practice it looked as if the 12mm gap was rather optimistic and perhaps 8mm might be more sensible a figure with which to work. Trying to measure from the funnel was not that easy as the two tubes, both made of 0.5mm Stainless, were very flexible. As an experiment it seemed an idea to see if one could use Rivnuts appled from the inside of the inner funnel. Their bodies stick out beyond the metal into which they are installed and thus could almost be used as spacers.
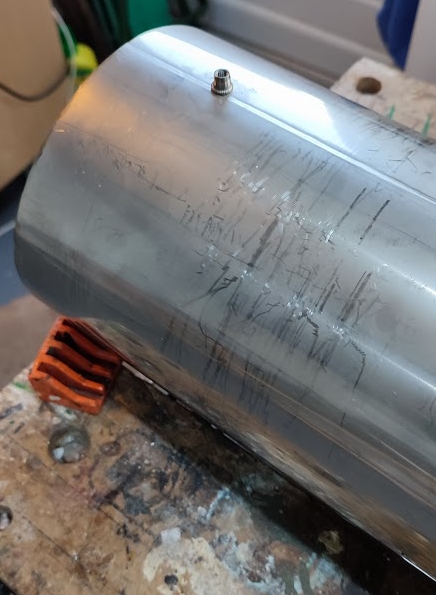 |
The added advantage would be that a dome headed machine screw could be screwed into each of them from the outside of the funnel. The question then became what size Rivnut when affixed to 0.5mm metal would have the right size of 'tail'. Given all the broughhaha over AI, this seemed like a good test for the free Google Geminii version. The question was asked and the answer was that M5 Rivnuts installed into 0.5mm metal should have a 'tail' of 11.5mm.
Sod's Law was active again and it was found that the Rivnut kit in my possession did not have any M5 Rivnuts but, thankfully, the Rivnut tool did have an M5 puller head. Not many were needed, perhaps up to eight, so eBay was used to order some along with some 10mm flanged button head machine screws. The Rivnuts were 'countersunk' stainless items which have rather small flanges on the top side as this was intended to reduce the chance of the inner funnel of the chimney being so reduced in its diameter that it would not fit on the funnel stub.
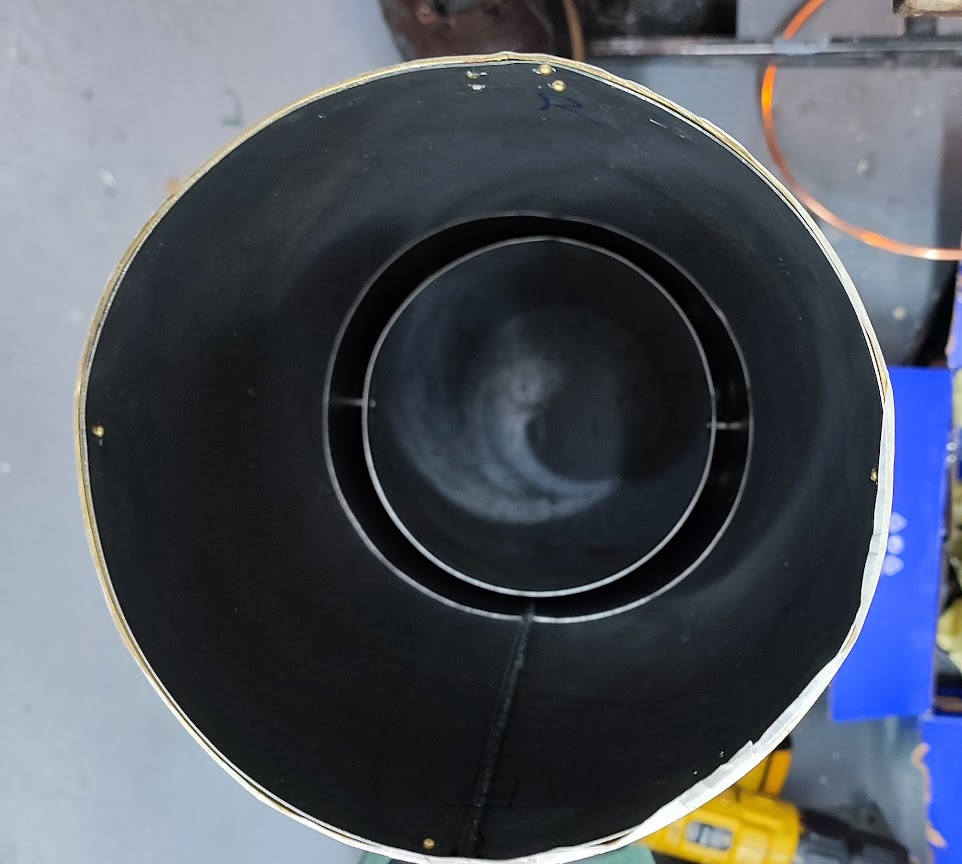
The next major problem was to determine a way of getting a hole though the inner and outer funnels that lined up correctly. For the holes at the bottom of the funnel the two tubes were fitted inside each other, aligned to take account of the 'cant' of the chimney and then clamped with a tool maker's clamp. That allowed one hole to be drilled. The more difficult task was to swop the clamp to the other side whilst keeping the first hole in alignment. Much faffing was required before the position seemed satisfactory and the second hole could be drilled. It was then necessary to widen the holes in the inner funnel sufficiently to allow the Rivnuts to be inserted. The holes in the outer funnel were widened to 5.5mm to allow for a bit 'adjustment'. With that done it was possible to test the idea and see if the two tubes could be joined. With a bit of squeezing that was possible and the alignment looked promising,except for the fact that the inner funnel was not parallel within the outer funnel. One of the holes in the outer funnel was elongated somewhat to allow the inner funnel to be better aligned.
Achieving sensible alignment eventually required the use of four files with handles being used as wedges.
 |
Unfortunately the two tubes are very shiny so getting a clear idea of what is funnel and what is reflected funnel was not easy. Eventually another pair of holes were drilled this time at right angles to the first ones. As before the inner and outer funnel holes were widened for their respective tasks and each of the Rivnuts had its thread cleaned up with the M5 tap. That was needed because it is difficult to get the right level of compression with the Rivnut tool. Too little pressure and the Rivnut will not grip the metal. Too much pressure and the whole Rivnut is shrunk somewhat.
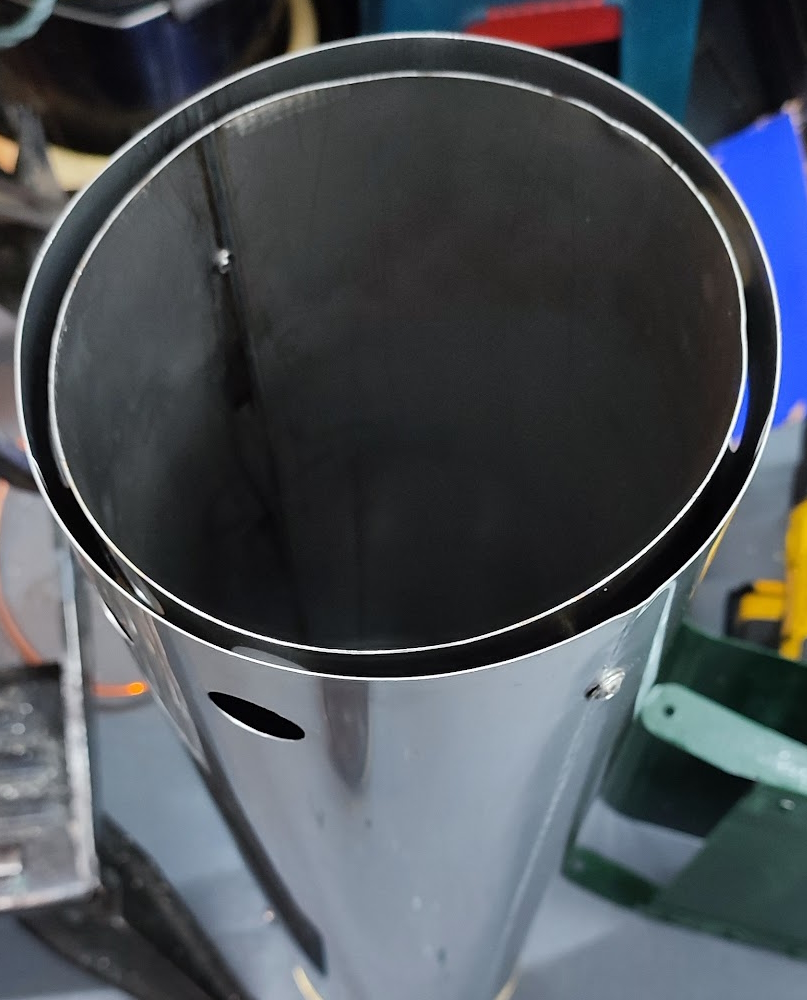 |
Eventually the time came for the final test where all four Rivnuts would be used to secure the inner funnel to the outer funnel. Needless to say, the alignment of the holes and the Rivnuts was rather less than perfect. Eventally all four had their bolts fitted and it was posible to tighten them up. Happily, that process seemed to fix the two tubes firmly and it looked as if no other fixings would be required. The final test was to see if the innner funnel would still slip over the funnel stub. That test was satisfactory and the funnel felt reasonably secure.
7th April - Funnel again
The weather had become more Spring like and the garage temperature was into double figures. The multitude of early in the year activities that had gobbled up all free time seemed to have faded and so attention turned to the funnel again. To ensure that all the 'bad' undercoat and the remains of the top coat were fully removed the funnel was given a serious wire wool scrub. The Super (expensive) paint was recovered from its resting place and then calculations were done to see how much was needed for the job. The quanity was tiny and thus a syringe that had been bought for work with the inkjet printer in was used to measure it. Given that a roller was to be used rather more than was necessary was mixed. The rather better on-line instructions should have been consulted before use rather than relying on the tiny text on the tin. It seems that the paint could have been thinned with water somewhat. That would have been useful as the mixture was perhaps too thick for getting a good roller finish. Cleaning up the roller and tray afterwards was easy as the paint was water soluble.
Astonishingly it was found that the next day the paint was dry. Not wishing to be impatient the funnel was left for a couple of days and then the first coat of top copcoat was applied. Like the undercoat this was a bit patchy but it went on easily enough. A couple of days later that too had dried and so the second top coat was applied. That went on well and there appeared to be even coverage. The next day it looked first class but it was not touched for another day or so when it was clear that it too had dried. Thus the funnel was restored to the condition it should have been with the exception of the brass strip at the top. That had been protected with masking tape that had been applied a long time ago. What a faff to get it off! With that done the funnel painting job was complete.